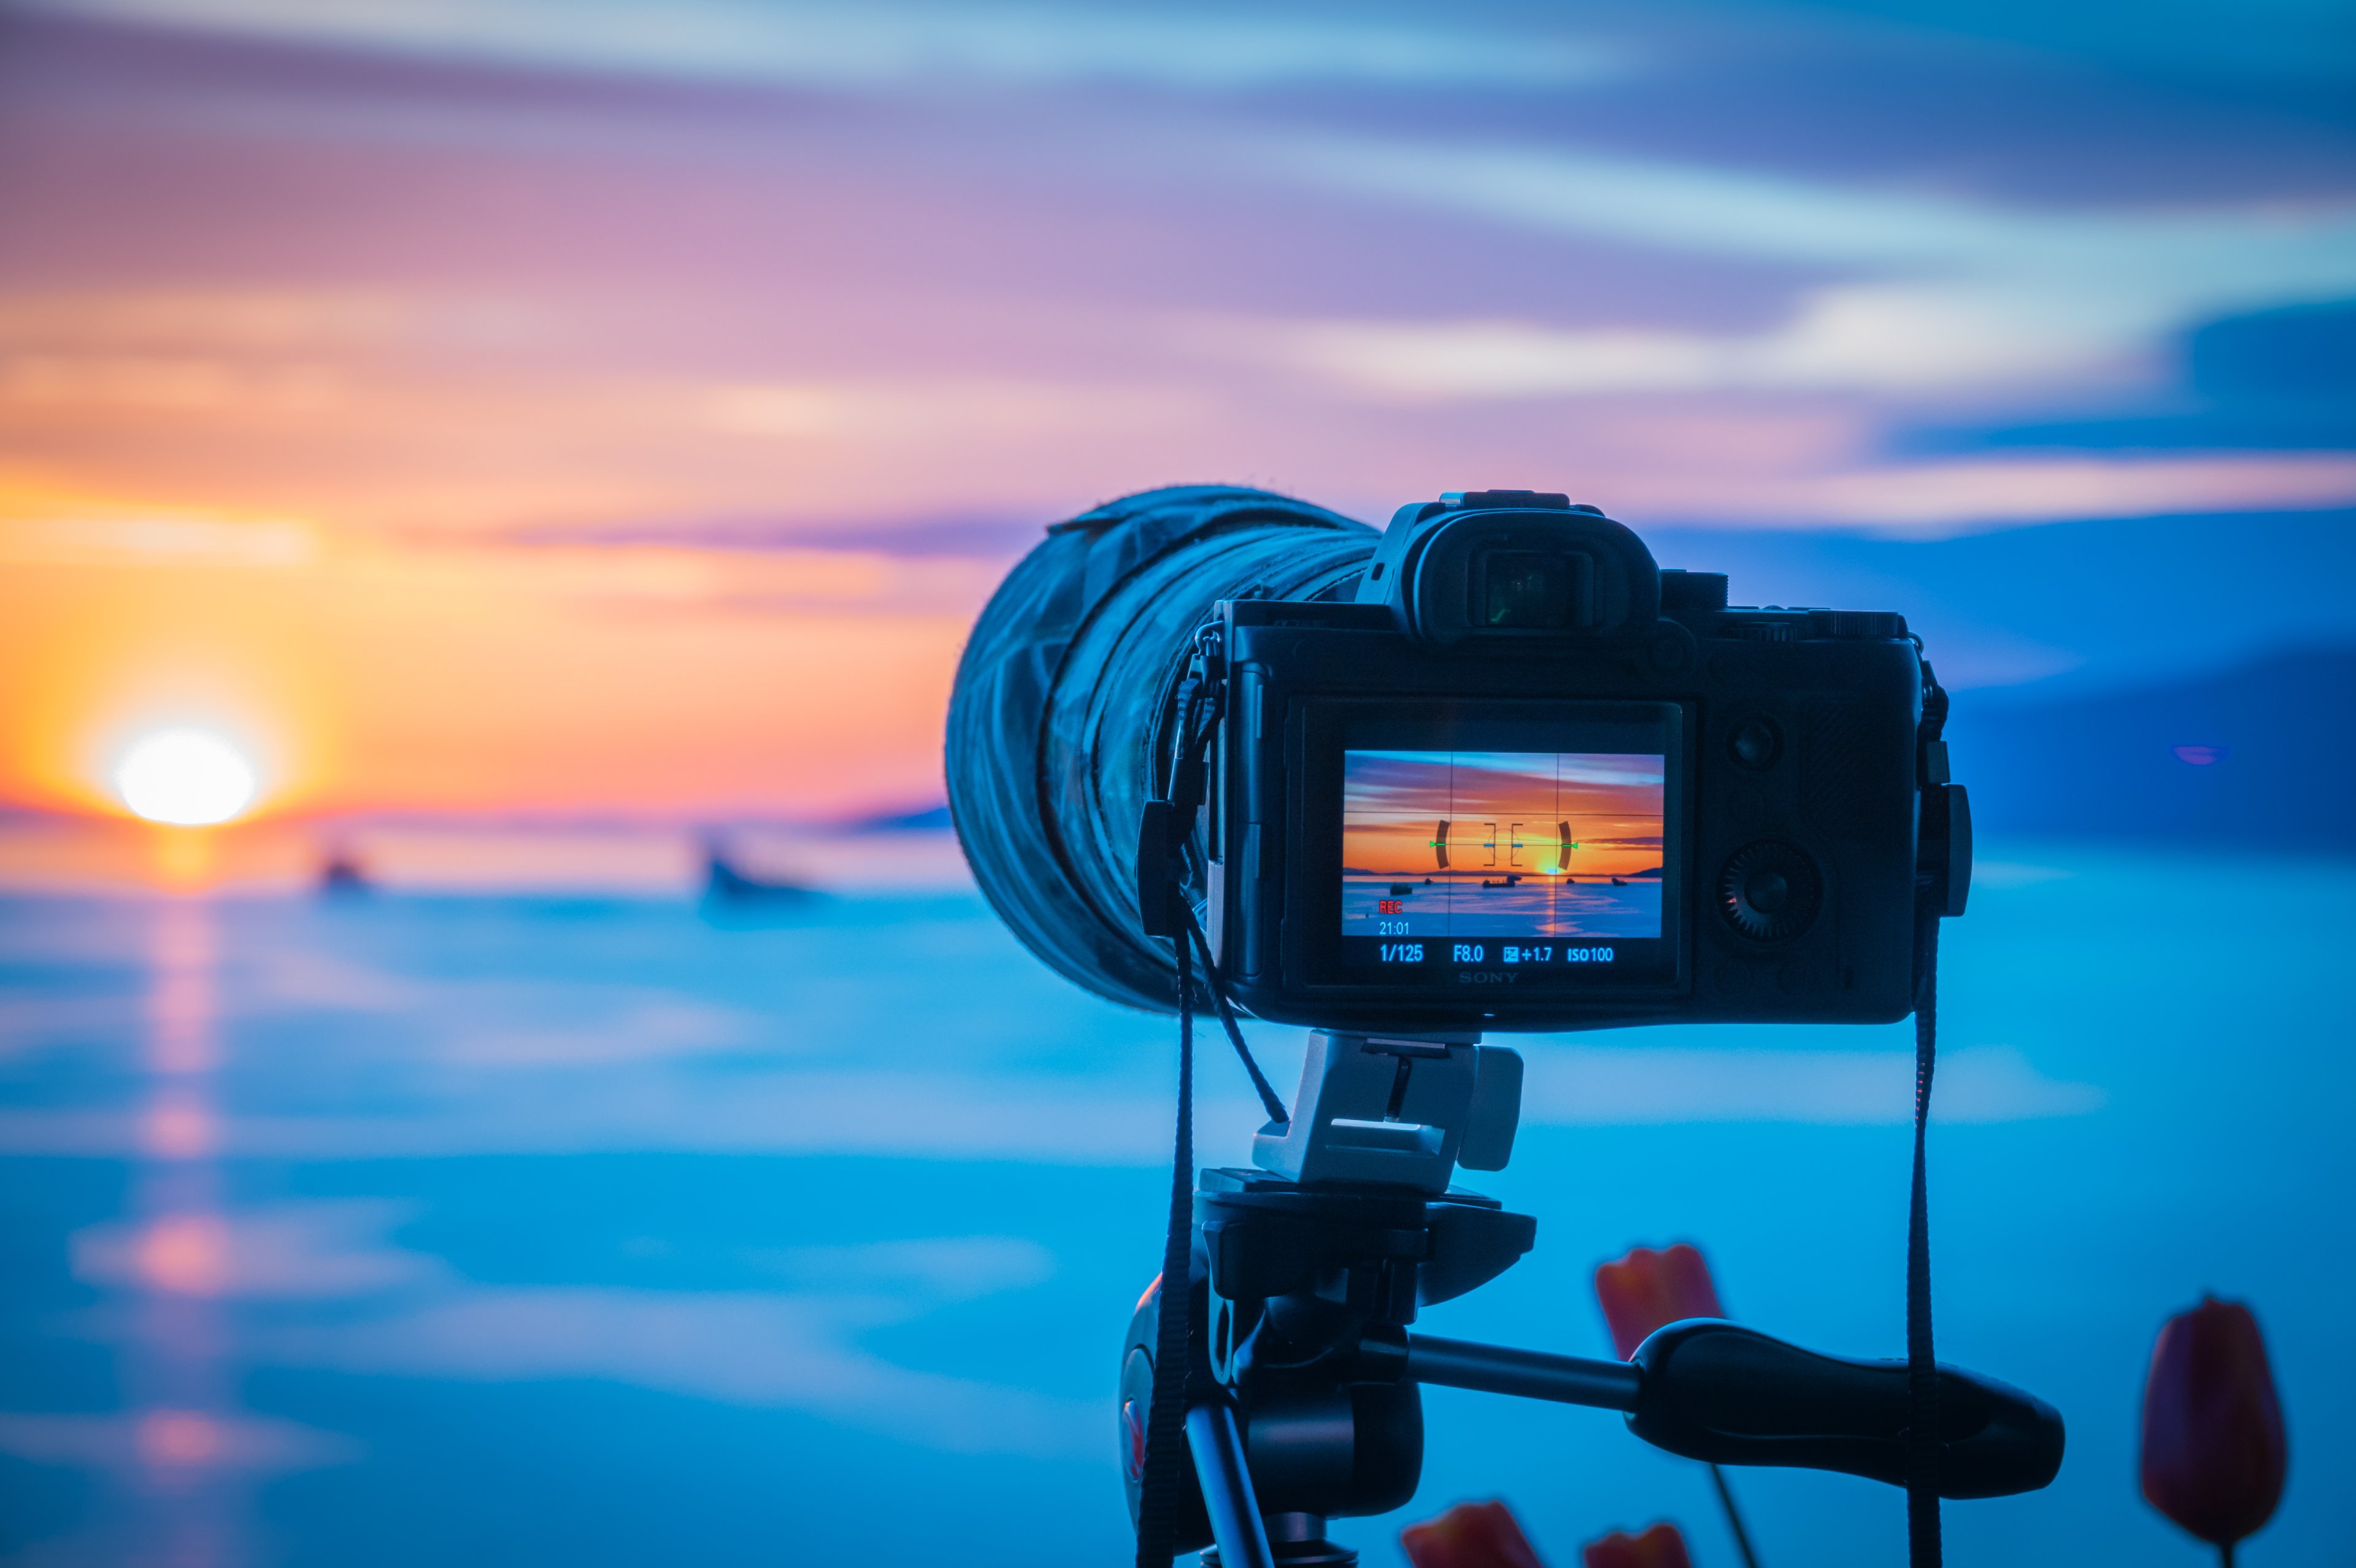
First Time Shooting With A DSLR Camera? 5 Things You Should Know

Most people who haven’t handled a DSLR camera up close often wonder why the photographer has to dial or turn something whenever they take a picture. It’s like they have to get a certain angle or zoom before they click the button that captures the scene for the picture. Sometimes, photographers also put long or short lenses and seem to take time trying to figure out what to use in a given scene or setting. Back in the day when all cameras used film, photography involved a great deal of turning dials and knobs to get the perfect focus, zoom, and lighting.
DSLR cameras have quite a number of features and functionalities, which make them a bit different from point-and-shoot cameras. They have controls and settings that can determine how the background will look like, how moving elements are captured, and which elements to focus on. If it’s your first time shooting with DSLR cameras, here are a few things you should know:
1. Shooting Modes
As a first-time shooter, some of the basic things you have to know are the shooting modes. The shooting modes in a DSLR camera are the aperture priority mode, shutter priority mode, and manual mode.
- Aperture Priority Mode
The aperture priority mode is used to adjust and control the aperture. In this mode, the shutter speed is calculated by the camera’s algorithms. The aperture sets whether the elements in the scene you’re taking would be clear or blurred. When you focus on your subject, the aperture widens. If you’ve seen photographs in online galleries set against a blurred background, that’s a shot from a wide aperture.
- Shutter Priority Mode
In the shutter priority mode, your priority here is to have control over the speed of the shutter. It’s the camera that takes control over the aperture when in shutter priority mode. This mode is used to capture a scene in motion. You can freeze and capture a motion by increasing the shutter speed. When you slow down, there will be more motion blur in your pictures.
- Manual Mode
If you want to have control over both aperture and shutter speed, you should select manual mode to give you control over both settings. The camera’s algorithms are shut off when you use this. Professional photographers who want to have full control over the entire artistic process often choose this mode.

2. ISO Level
The ISO, which is pronounced as ‘eye-so,’ has something to do with how to make the camera sensitive to light. It has a number system that allows you to control how sensitive the camera would be to light. As you set lower ISO numbers (100, 125, 200, 400), the camera becomes less sensitive to light. The result is you’ll have darker images. Conversely, if you set higher ISO numbers (800, 1600, 2000), the camera becomes more sensitive to light, resulting in lighter or brighter images.
3. Focus Mode (Spectrum vs. Single Point)
The typical DSLR camera has an autofocus system. When you turn on your camera, you’ll see how this works when you try to focus your camera. Several different indicators will appear on the LCD or Electronic Viewfinder (EVF). These indicators mean that the different points of the spectrum have been activated.
When you focus the camera over an image, certain areas of the scene are in red or green boxes. This means that the camera will focus on those areas which have been boxed in. If you don’t want to use these functionalities, you can simply turn off the spectrum focusing option. Digital DSLRs have a lot of features. In fact, DSLRs can even be used as webcams.
4. Exposure Compensation
Exposure compensation is very helpful in improving the overall quality of the pictures and images. Although this won’t be used all the time, there are instances and situations when you’ll find this feature significant. You can adjust the exposure compensation by moving it to the plus values to make the images brighter or go to the negative values to make the images darker.
You’ll still find this setting useful even though the camera algorithms automatically adjust the brightness through the aperture, shutter speed, and ISO settings. This is because the algorithms used in modern DSLR cameras tend to overcompensate for the lightness or darkness in the images. The result is you never get the exact amount of light that you want in an image.
5. External Flash Control
Some DSLRs can be paired with a compatible external flashlight unit. This can be operated using the functionalities that can be found within the menu system of the camera. This is a great addition to the DSLR camera. It’s most useful when your set-up involves multiple flash units and you spread them all over your shoot site or venue.
It’s also very helpful if you have a single flash unit set up. When the camera has to be placed in a spot where it’d be difficult to reach, you won’t be able to view the LCD and buttons, making it hard to adjust the settings for the shot. With this external flash control, you can control and change your flash settings right from the system menu of your camera. It’s wireless, so you won’t have to go to each flash unit to make adjustments.
Conclusion
Handling a DSLR camera can be daunting for a first-time photographer. But the features, settings, and functionalities of a DSLR camera are quite easy to understand and use. Most of their functionalities are easily learned. You’ll most likely figure out why they’re there with just a little explanation about their functions and uses in photography. This article is a brief discussion about those basic settings and functions.


